
|
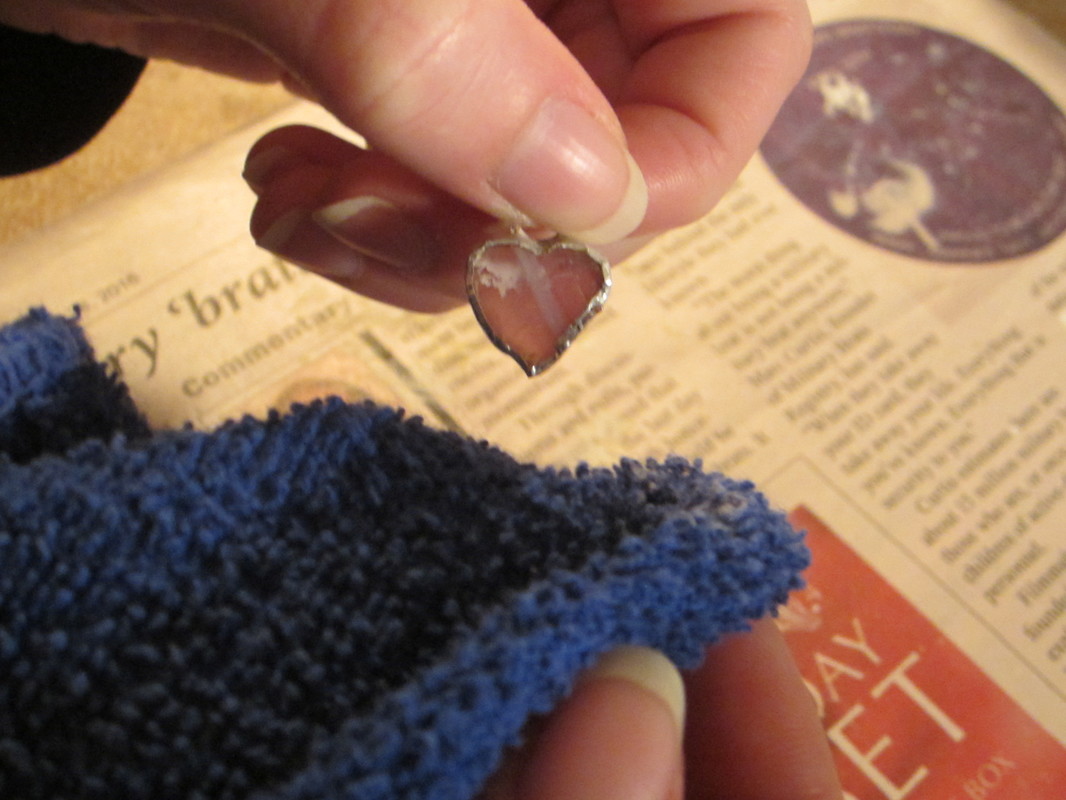
Step 7 Materials: solder polish, a brush, a soft bristle toothbrush, newspaper, and a cotton rag or polishing wheel So this is the final step to making your stained glass pieces. Definitely one of the easiest steps, but still very important. It is the polishing stage. Polishing your solder keeps the solder from oxidizing to chemicals in the air and from our skin. *Honestly when I first started I didn't polish my pieces because I didn't quite understand how important it was and it's hard to picture the pieces oxidizing when it's all nice and shiny after you finish soldering it. But it does. Trust me. Oxidization looks like a matte grey color. And once it oxidizes you can't reverse it.*
and the brush is used to get into all the crevices, such as rump rings, charms, and the edges where the solder and glass meet. If you choose to use a polishing wheel, you still apply the polish and then hold the piece up to the polishing pads. Go slow not fast. *Personally I think it's unnecessary. A cloth and toothbrush work the same.* Once that is done, so is your piece. Not bad right? I hope my tips helped you in your process in creating your work of art. 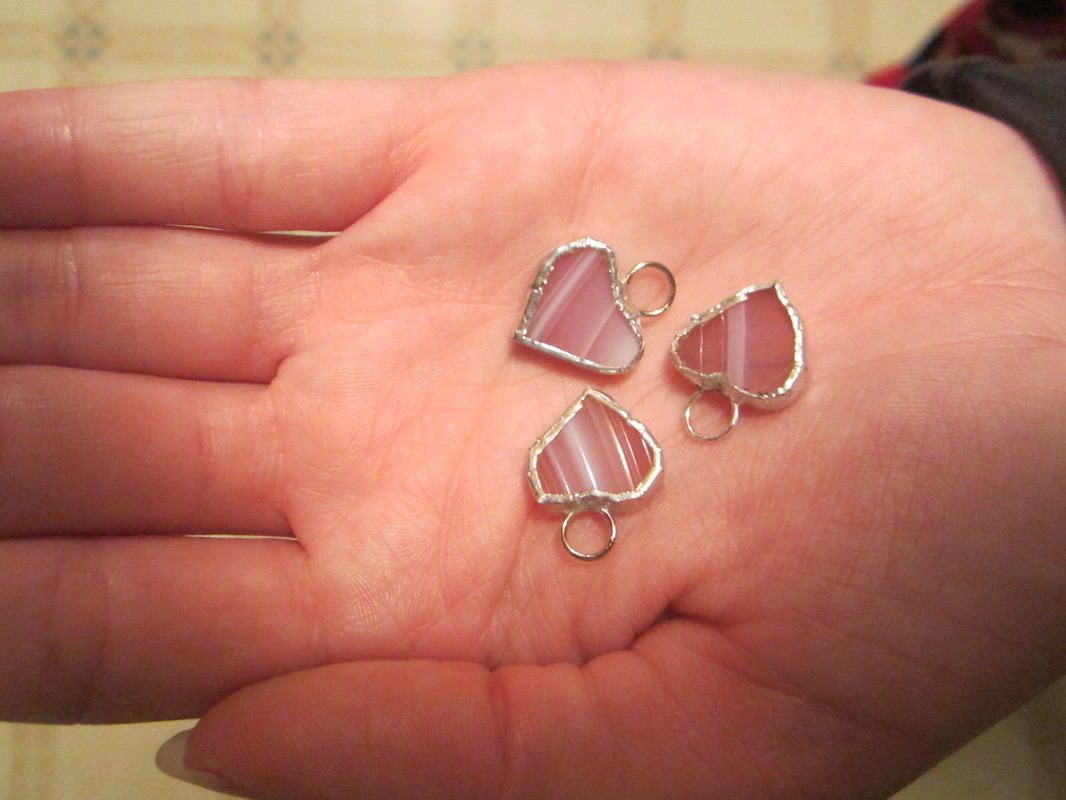
0 Comments
Leave a Reply. |
KimI am a huge animal lover, going through college, and love to create. That's about it. Archives
August 2017
Categories |
 RSS Feed
