
|
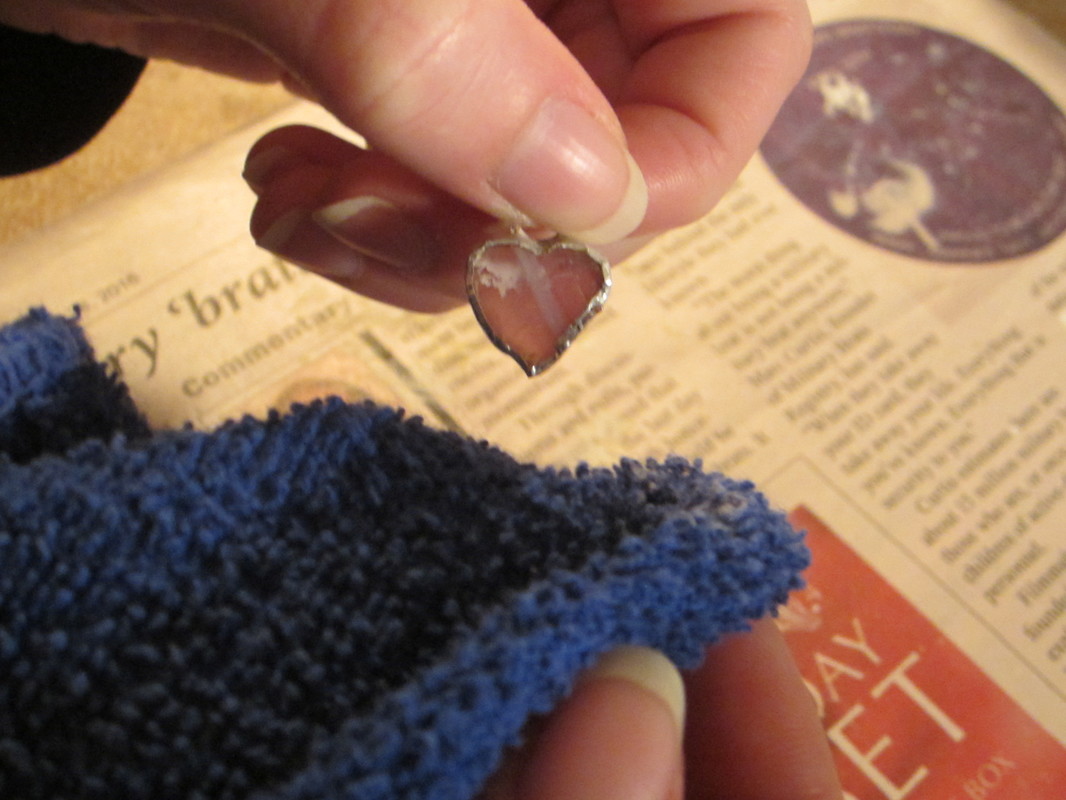
Step 7 Materials: solder polish, a brush, a soft bristle toothbrush, newspaper, and a cotton rag or polishing wheel So this is the final step to making your stained glass pieces. Definitely one of the easiest steps, but still very important. It is the polishing stage. Polishing your solder keeps the solder from oxidizing to chemicals in the air and from our skin. *Honestly when I first started I didn't polish my pieces because I didn't quite understand how important it was and it's hard to picture the pieces oxidizing when it's all nice and shiny after you finish soldering it. But it does. Trust me. Oxidization looks like a matte grey color. And once it oxidizes you can't reverse it.*
and the brush is used to get into all the crevices, such as rump rings, charms, and the edges where the solder and glass meet. If you choose to use a polishing wheel, you still apply the polish and then hold the piece up to the polishing pads. Go slow not fast. *Personally I think it's unnecessary. A cloth and toothbrush work the same.* Once that is done, so is your piece. Not bad right? I hope my tips helped you in your process in creating your work of art. 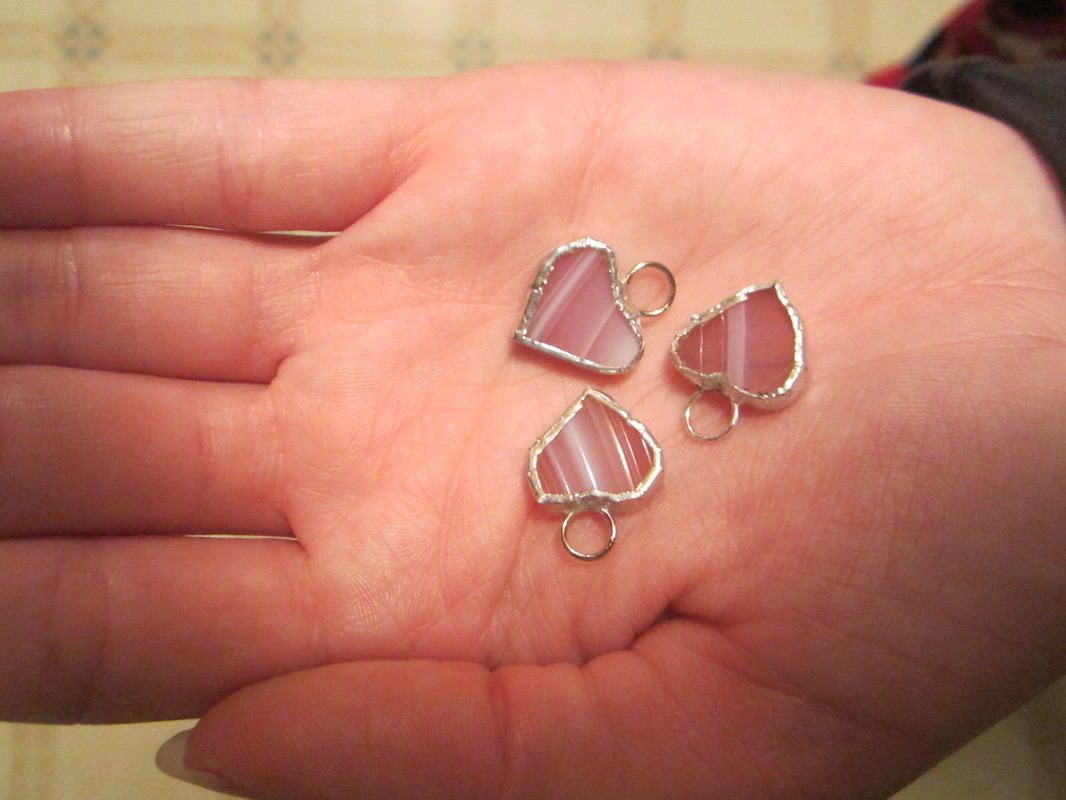
0 Comments
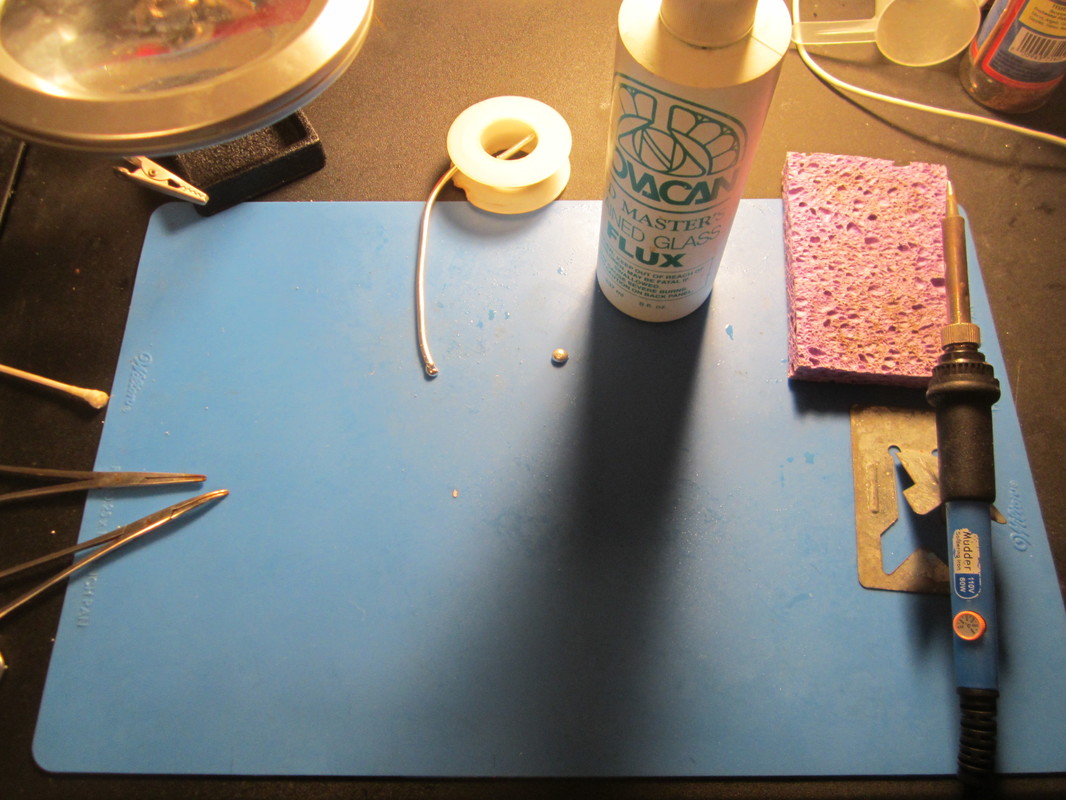
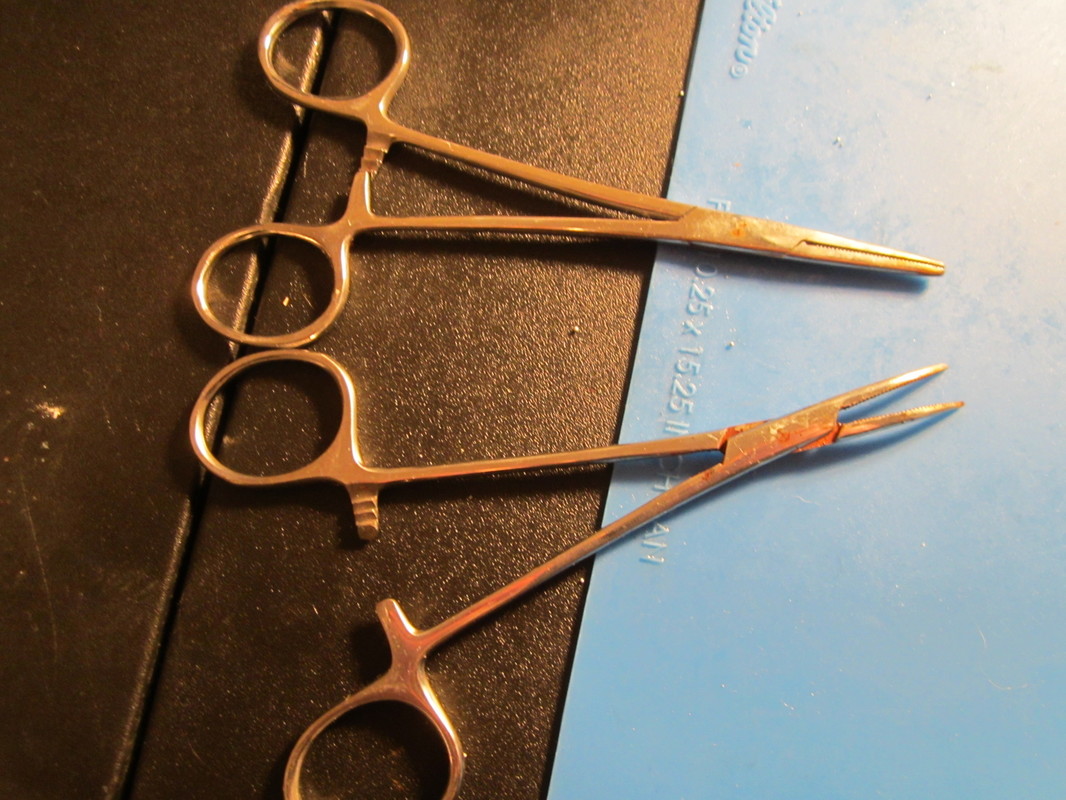
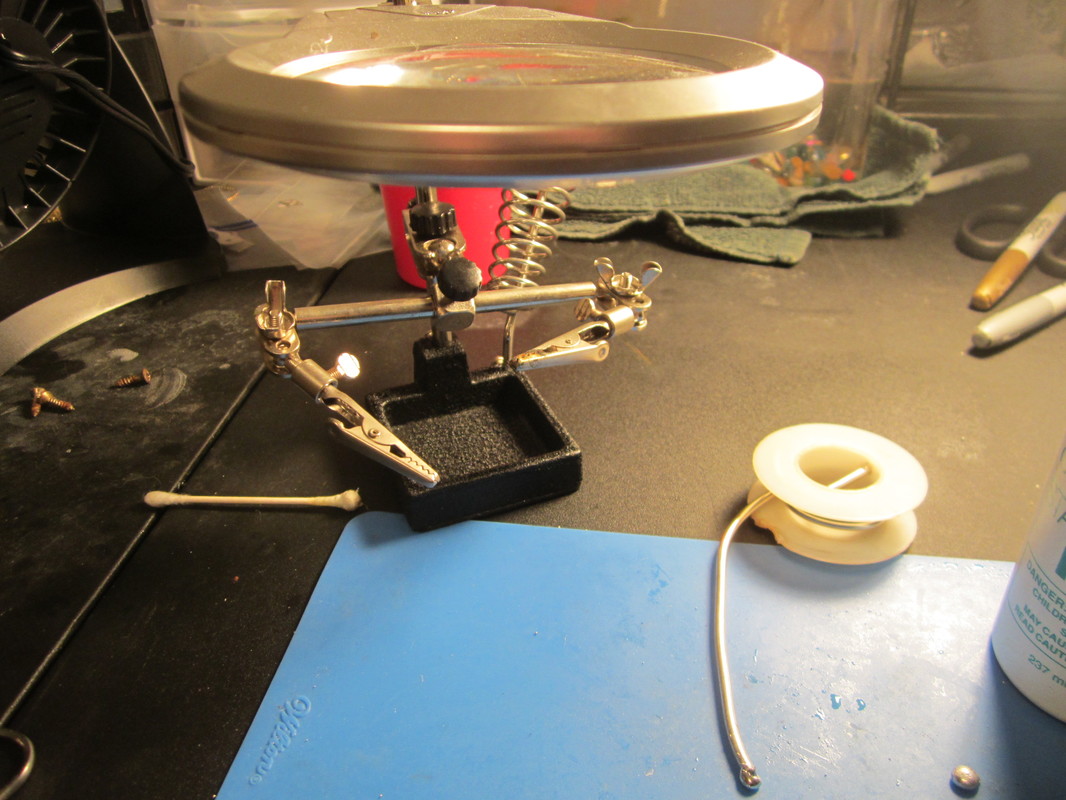
Step 6 Materials: soldering iron or torch, solder, safety glasses, flux, Q-tip, hot mat, helping hands, hemostats, wet sponge, charms, jump rings, and other finding you want
people. If you are doing a decoration you can use a regular solder or lead free. It depends on your preference.
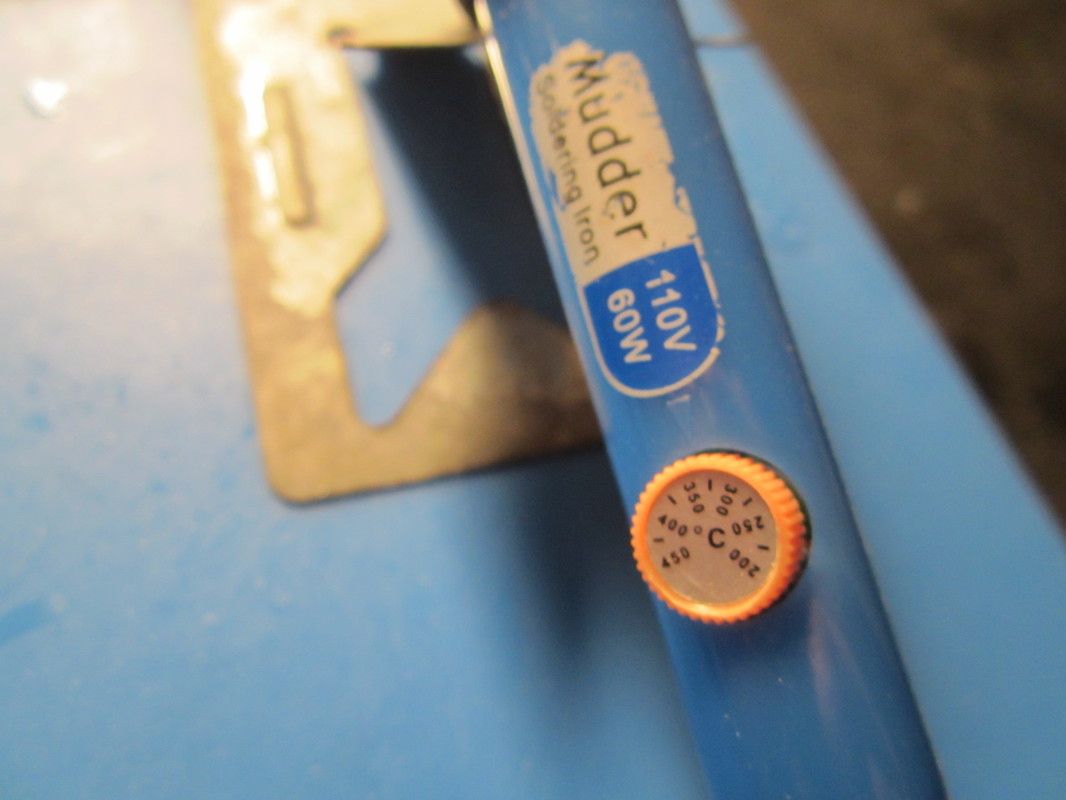
flux cleans the copper foil of oils and dirt so the solder will stick. Do this first before you consider turning on you soldering tool. Now all solder has different melting points. It should tell you the melting point on yours when you buy it, if not just look it up. Personally, I have an adjustable soldering tool (which I highly suggest) so when I was first soldering i just turned the temp up and down until i got a temp I was happy with. You want to make sure you work over a space that can handle the temperatures the solder reaches. I bought a baking mat that was heat resistant. It's a great size for what I do. You might need a bigger work space.  So you have all your materials and you fluxed the copper on the side facing up. Now it's time to turn on your soldering tool. *Be very careful to sit close to the desk so no solder accidentally falls in your lap. Just sayin': been there. Burnt my leg.* Press your tip, if you have a tool like mine, against the solder so it will melt to the tip as soon as it's hot enough. It is important to keep the tip well covered or it will oxidize and the solder will stop sticking and you have to change tips. *I have gone through many tips on my lead free soldering iron, but not on my 60/40 soldering iron for sun catchers. I think it is the melt used in the solder. So just a warning to you that they are harder to maintain.* You can apply the solder in two ways. One, hold the solder in one hand and the iron in another as you move around the piece. I am not this skilled, but maybe you are. Two, put small bits of solder on you piece first to melt or pick up globs of solder to take over to your piece with your iron and spread it out. Do these as quickly and as smoothly as you can. I usually try to hold the piece I am working on down with a hemostat. Once you finish one side, do the other and the around the outside edge. *If you are soldering pieces together make sure to put small globs at all the corners and sides where two pieces of glass meet. This will make it easier when you go back and smooth them out because it will be partially held together.* Periodically clean off the flux on the wet sponge and cover the tip with solder. After you have covered your piece, double check. I can't count how many times I didn't check, added all my extras, and turned my iron off only to discover i missed a small spot or a spot came out rough. You can go back over and try to smooth parts out, but DO NOT do this too much because it burns the sticky part of the copper foil.
After you can add jump rings, copper wire, charms, etc. Just flux the area on the piece you are trying to add on where it will be attached with solder, hold it in place with a tool such as a hemostat or helping hands and apply the solder. When all is said and done, turn off your soldering tool and clean off your new piece thoroughly with glass cleaner. The hard parts are now over and it's time for the final touch: polishing.
|
KimI am a huge animal lover, going through college, and love to create. That's about it. Archives
August 2017
Categories |
 RSS Feed
